Dear Friends,
I have a lot of students working with balance challenges right now. Aging REALLY affects balance, and we are all aging. You might curse that fact, but you can also take comfort knowing that it’s not just you. Here is a phrase that I recently heard that I love: “It’s a human problem, not a you problem.” Amen.
We can get into mental habits of thinking we are special. Not in an arrogant way, but in a way that puts ourselves down with false thinking like “I’m deficient because I can’t do xxxx (fill in the blank; perhaps for you it’s balancing on one leg), without realizing that we are in good company.
I know it is extra frustrating when we’re talking about something you used to be able to do easily (like put your socks on while standing on one foot) that has gotten much harder with age. And sometimes this stuff creeps up on us, such that by the time we realize we have “lost” a skill, it feels too far gone to get back. Barring certain medical conditions, this is usually not true with balance. But we do have to practice it.
Practicing balance may sound like a drag to many people, but perhaps not to you if you already go to yoga. Part of what makes yoga poses fun is the balance challenge! And don’t forget, you are engaging your vestibular (balance) system whenever you do a standing pose, even if it is on two feet.

So the body’s system for balancing is getting warmed up before you even think of taking one foot off the floor. And yes, then we get to those one-footed poses that are so tricky….
We get to examine our self-talk with challenges like these. Can we let balancing on one leg be more like a game, one that is a little too challenging for us, as opposed to being so easy as to be boring? Can we accept challenges that emerge newly with being a new age on this earth? Can we get through the balancing poses in a yoga class without gritting our teeth?
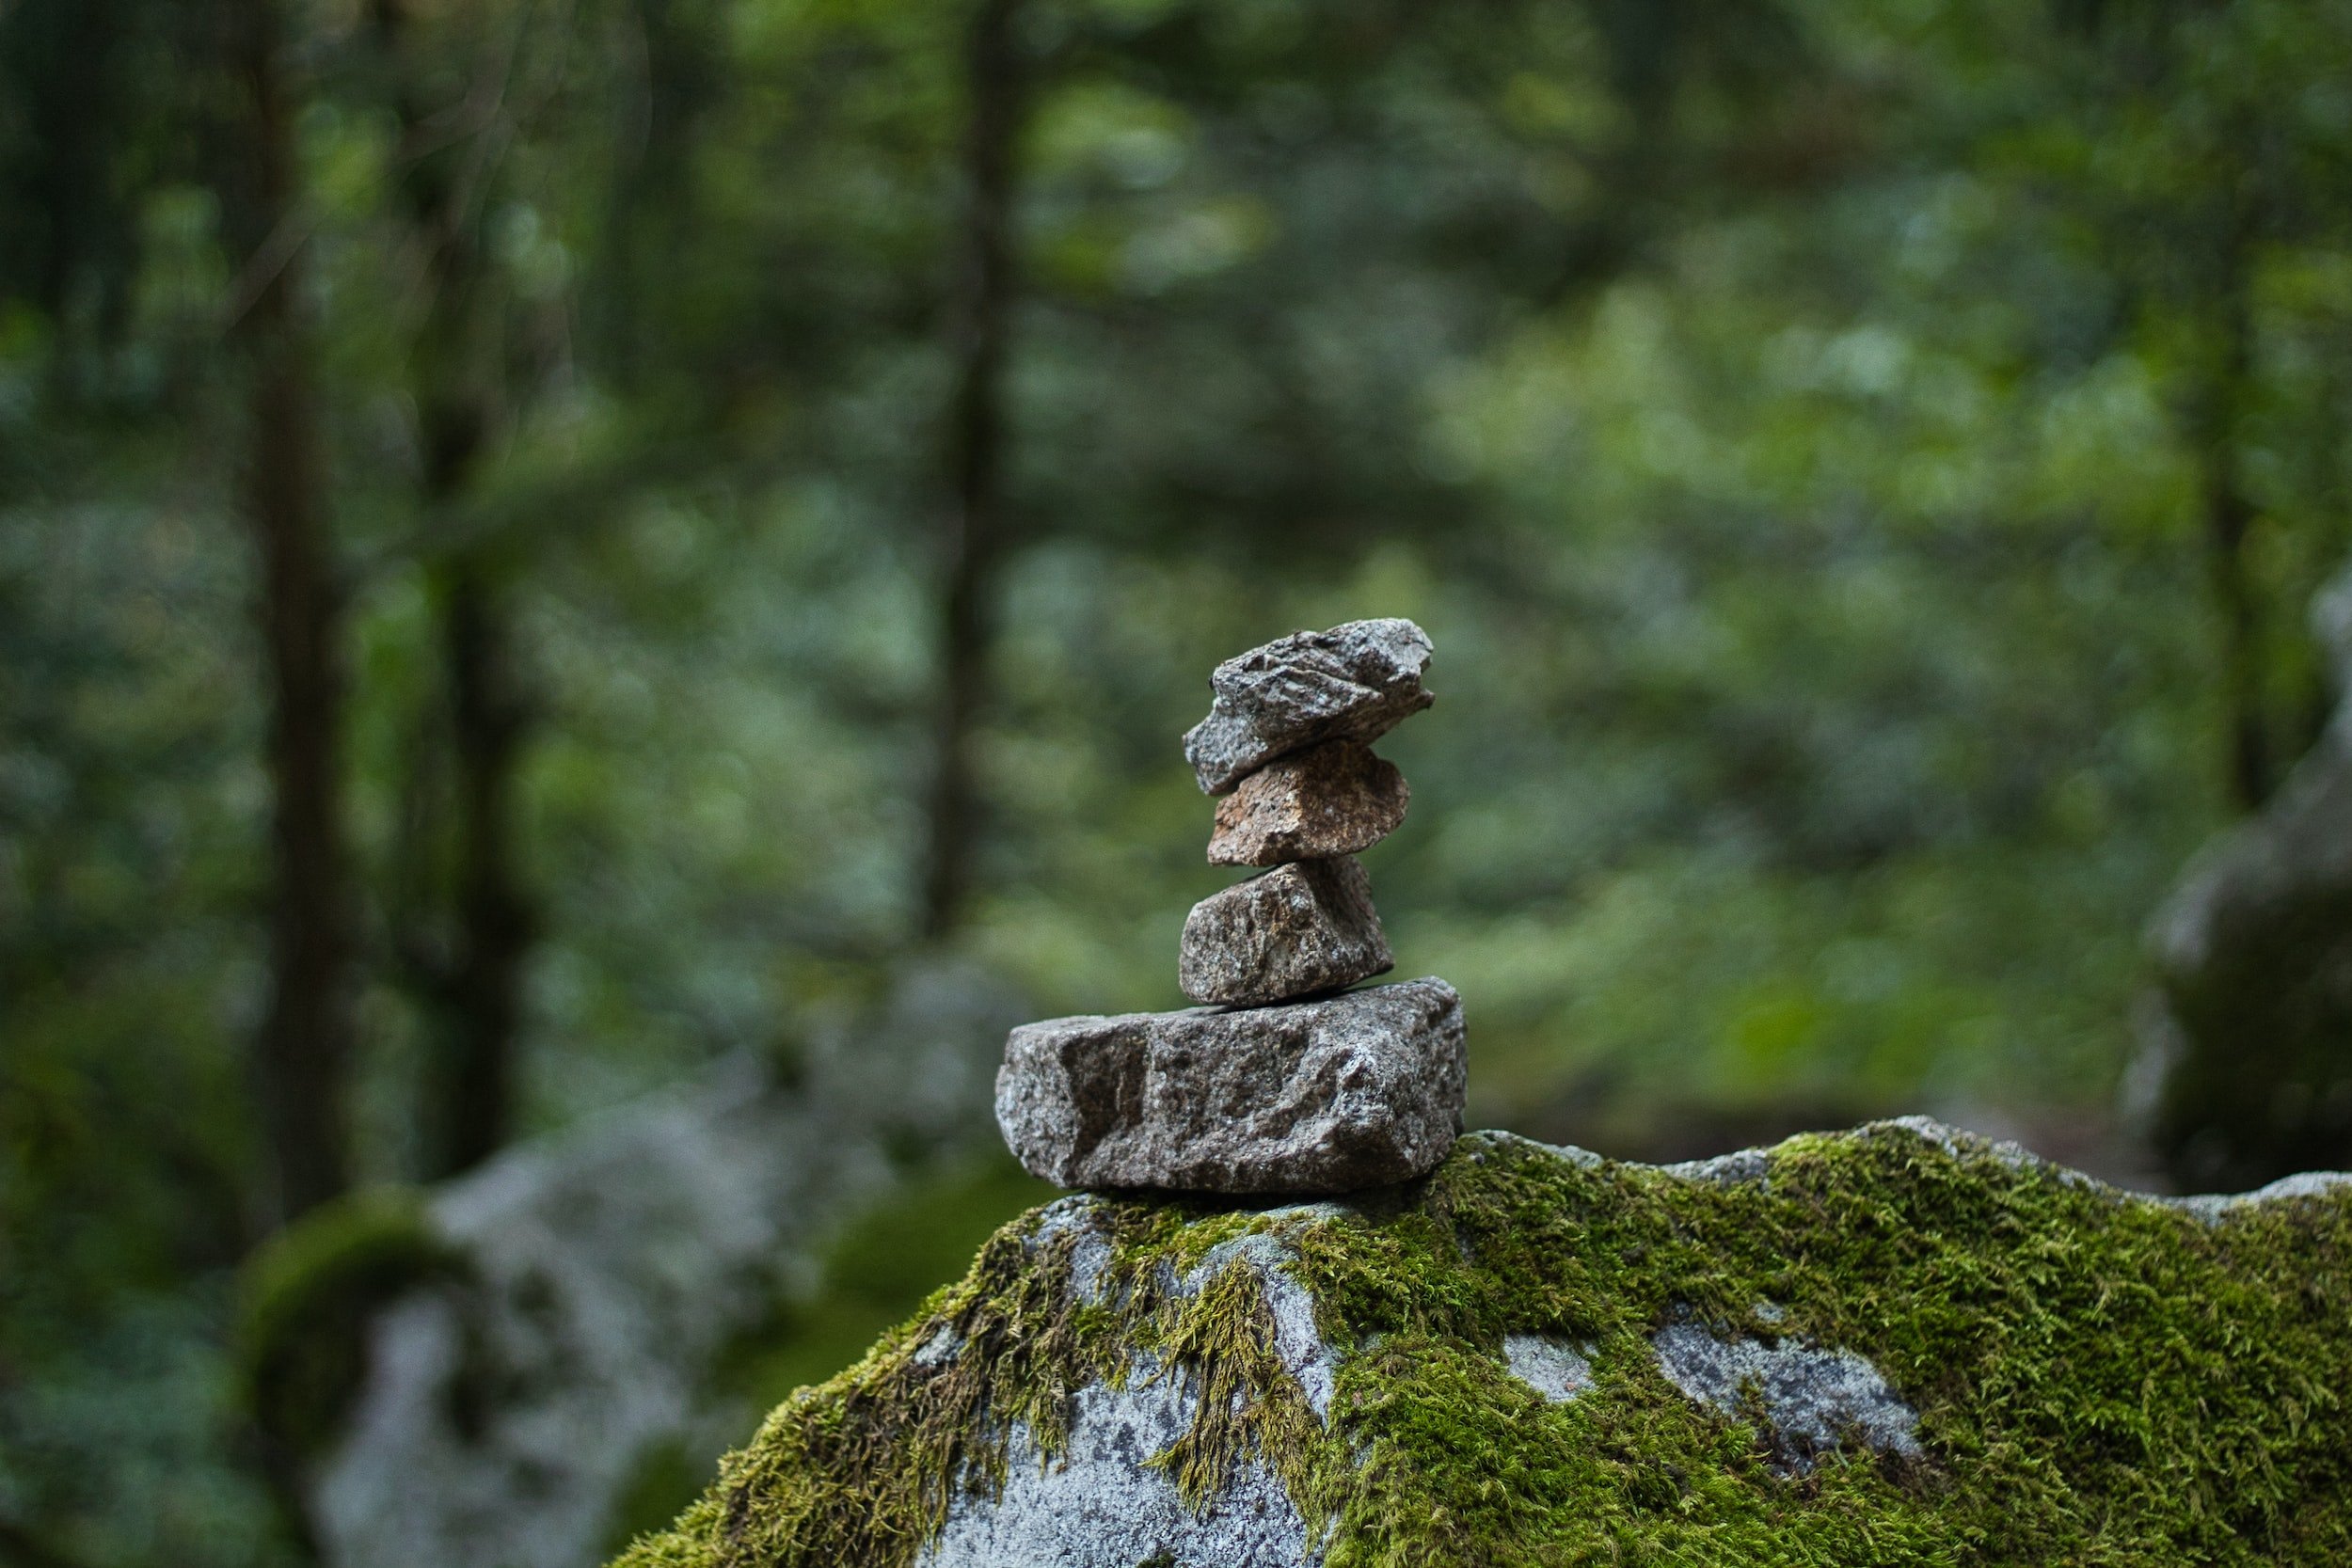
By biggest tip for working with balance is to notice how it affects the continuum between tension and ease in your body. Approaching it in an exploratory way, we can ask “How might I work with this such that I retain some ease in my body?” When we clench and tighten, we tend to fall over.
If someone needs to keep one set of toes close to the floor and touch them down to re-ground when they are about to fall over, I really encourage working that way. That frees up some bandwidth to notice when you get extra tense and to see where you can soften.
Will softening just make you fall over? Possibly! Possibly not. Either way, it’s information.
Heck, you can try tensing and bracing your body like crazy… it might be good information to see what happens when you do that! In other words, rebel against my advice if you want; just stay present with what happens.
My other big tip for balance practice is super basic: you have to do it. We generally don’t like doing things we aren’t good at, but we have to do them if we don’t want to lose the capacity to do them. A yoga class is a great environment in which to play with balance. It is supportive, low-risk, and contained.
In April we will be practicing balance on Thursday mornings in Steve’s class. You will get a well-rounded practice (it’s not like you will be balancing on one leg the whole class!), but we will take the time to work with balance a little more than we might normally.
You will not only get a change to practice some fun yoga poses; you might also take the opportunity to practice kind self-talk.
Your breath is your friend. Your ease is your friend. And the floor is your friend. Those are my closing tips for balance practice in yoga (and when putting on your socks).


